
Business Wi-Fi Hub 6: Setup Guide and FAQs
Get your Business Wi-Fi Hub 6 connected fast, with our full setup instructions and FAQs
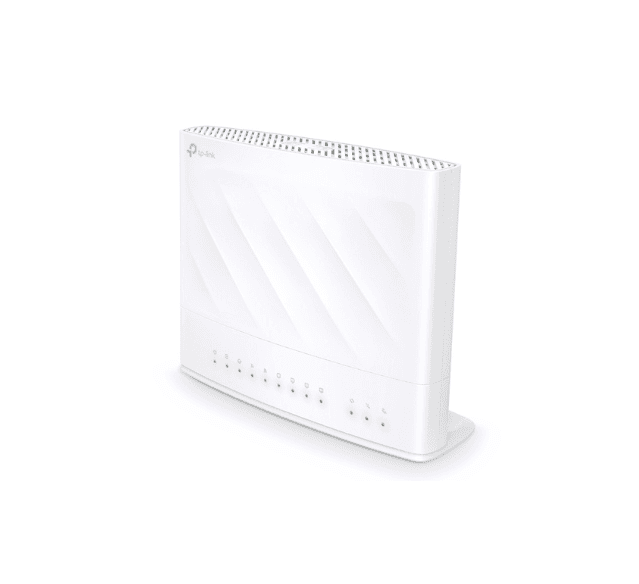
Our latest router#
Say hello to our latest model: Business Wi-Fi Hub 6. It's available for free to all new TalkTalk Business customers, and offers our strongest, fastest, most reliable Wi-Fi signal ever!
Setting up your Hub is easy. Check out the steps below to get started, or for full instructions, view our guide.
And to view our PSTI certificate, click here.
Ready to get connected?#
Just follow the steps below. The instructions for a master phone socket or a pre-filtered phone socket are for Business Broadband or Business Fibre connections. If you have a Business Full Fibre connection, follow the instructions for full fibre.
If you have a master phone socket…#
Connect the micro-filter provided to your master phone socket. You need to use a micro-filter for every phone socket in your office with any phone or broadband equipment plugged into it.
Plug one end of the broadband cable provided into the socket labelled DSL on your micro filter and the other end of the broadband cable into the Broadband socket on the back of your router
Plug your phone line into the socket labelled Phone on your micro-filter
If you have a pre-filtered phone socket...#
Plug one end of the broadband cable provided into the broadband socket of your pre-filtered phone socket and the other end of the broadband cable into the Broadband socket on the back of your router
Plug your phone line into the same wall phone socket as your Broadband cable
You need to use a micro-filter for every phone socket in your office with any phone or broadband equipment plugged into it.
If you have a Full Fibre connection...#
Ensure the Network Terminating Equipment (NTE) is powered on. The NTE may be white or black.
Use the ethernet cable provided to connect the NTE to the WAN port on the Hub
Time to switch on#
Push the power button on the back of the Hub. An LED light on the front of the Hub indicates that it's switched on.
Insert the power cable into the Hub and the plug into the wall. Turn on the switch.
Keep your Hub upright and facing into the room for the best signal
Note: the powering on sequence may take some time to begin with.
And to connect your devices...#
How you connect varies from one device to the next (check the manufacturer's instructions), but generally you:
Go to settings and turn on Wi-Fi
Click on your Wi-Fi network name (you'll find it on the Wi-Fi settings sticker on the back of your Hub)
Enter the password from your Wi-Fi settings sticker (the password and username may be case sensitive)
Click on join or connect
Need more information?#
For more instructions and tips on getting started, check out our Wi-Fi Hub setup guide here. Or for further guidance, see our FAQ section below.
Wi-Fi Hub 6 FAQS#
I'm using Business Wi-Fi Hub 3. How do I set it up?
To set up Business Wi-Fi Hub 3, please follow the instructions here.
What do the LEDs indicate as my Business Wi-Fi Hub 6 is starting up?
For guidance on what the LEDs indicate on your Business Wi-Fi Hub 6, click here.
What if I don’t achieve green LEDs at the end of the powering on sequence?
Check your local kit and cabling against the setup diagrams linked below. This differs depending on your service.
Then follow the below instructions for your connection.
Broadband connections and Fibre#
Power off the router (press the power button so that all of the lights go off).
Remove and check the grey RJ11 internet cable that sits between the master socket and the broadband port on the router. As per the setup diagram, your master socket may have dual ports on the front, or you may use a micro filter (splitter).
Firmly plug in the grey RJ11 internet cable into the master socket (or splitter) then firmly plug the other end into the routers grey DSL port (you should feel a click).
Power on the router. After a couple of minutes, the router should display a solid green power and DSL light (small square) and the 2.4 and 5ghz lights should be flashing intermittently.
If the router's internet and Wi-Fi lights are not flashing and/or the DSL light is not a solid green, report the issue to the tech team on 0800 083 3003 (Option 1).
As an extra step, you could remove the master socket's face plate and try to get a dial tone using a standard analogue phone plugged in to the `Test` socket.
Full Fibre#
Power off the ONT wall box and the router (press the power button on each device so that all the lights go off on both devices).
Remove the ethernet cable that sits between the ONT's LAN port and the router's red WAN port. Firmly re-seat the cable (pushing it in until you feel a click) on both the ONT's LAN port and the router's red WAN port.
Ideally, if you have a new ethernet cable please swap this out, or swap the ends round of the existing cable so the opposite ends are plugged in to each port.
Ensure that the router's small grey DSL port is empty. (Usually found on the left-hand side at the back of the router). And for testing purposes, remove all LAN/Ethernet cables from the yellow ports.
Power on the ONT and router.
After five minutes, you should see the ONT display a solid green POWER and PON. The LAN light should flash intermittently. The router should display a solid green power light, the internet light (small globe) and the 2.4 and 5ghz – as well as the WAN lights – should be flashing.
If the router's internet WAN and Wi-Fi lights are not flashing, or the internet light isn't a solid green, please report the issue to the FTTP faults team on 0345 172 5127.
How do I change the default SSID to something different such as my business name?
In your preferred browser, type 192.168.1.1 as the destination address and enter your password.
If it's your first time connecting, set your password and skip/exit the quick setup.
Once you're on the TP-Link home screen, click the 'Basic' tab.
Scroll through the left-hand side and select 'Wireless'.
You can now set the Wi-Fi SSID username (name of your Wi-Fi network) and the password to connect to it.
You can deselect `Band Steering` if you would like to separate out the two Wi-Fi bands (2.4ghz and 5ghz) and have separate SSIDs and passwords for both.
After setting the Wi-Fi username and password, click 'Save' and then log out
How do I set up guest Wi-Fi?
In your preferred browser type 192.168.1.1 as the destination address and enter your password
If it's your first time connecting, set your password and skip/exit the quick setup
Once at the TP-Link home screen, click the `Basic` tab
Scroll down the left-hand side and select `Guest Network`
Un-check `Allow Guests to Access Each Other`
Check/Tick `Enable Guest Network'
Set the network / Wi-Fi name (SSID)
Select the security type
Set the password
Click 'Save' and log out of the router
Wait a couple of minutes and then re-scan your Wi-Fi networks. You should now see your new Guest Wi-Fi SSID name and be able to connect to it using your set password
My main or guest SSID is not displaying – how do I resolve this?
In your preferred browser type 192.168.1.1 as the destination address and enter your password
On the home page select the 'Basic' tab
Scroll down the left-hand side and select 'Guest Network'
Uncheck/un-tick 'Enable Guest Network'
Save and log out
Go back into the router and set Guest Wi-Fi up again
If this doesn't work, you may need to pin hole 'Reset your router' (press and hold the reset button on the back of the router for 10 seconds (next to the black power cable)
Note: The router's Wi-Fi 'On/Off' button is located on top of the router. It's possible to accidently disable the Wi-Fi by pushing the button. Re-pushing the button may restore the Wi-Fi.
The router's 'On/Off' power button is located on the back of the router next to the power cable. It's possible to accidently power off the router by pushing the button. Re-pushing the button will restore the power.
How do I raise a fault with my device?
For broadband connections and Fibre (broadband and fibre connections through a telephone master socket), contact the TalkTalk Business helpdesk on 0800 083 3003.
For Full Fibre, contact the TalkTalk Business faults desk on 0345 172 5127. To help identify your type of connection, please see the below links to the setup diagrams.